AWS & Encryption keys: Revert manually edited policy
Since we’ve been working with AWS we sometimes did stuff that, after looking back on it, wasn’t the best approach.
One of those things was manually applying Key Policies on Encryption Keys.
It currently looked like this:
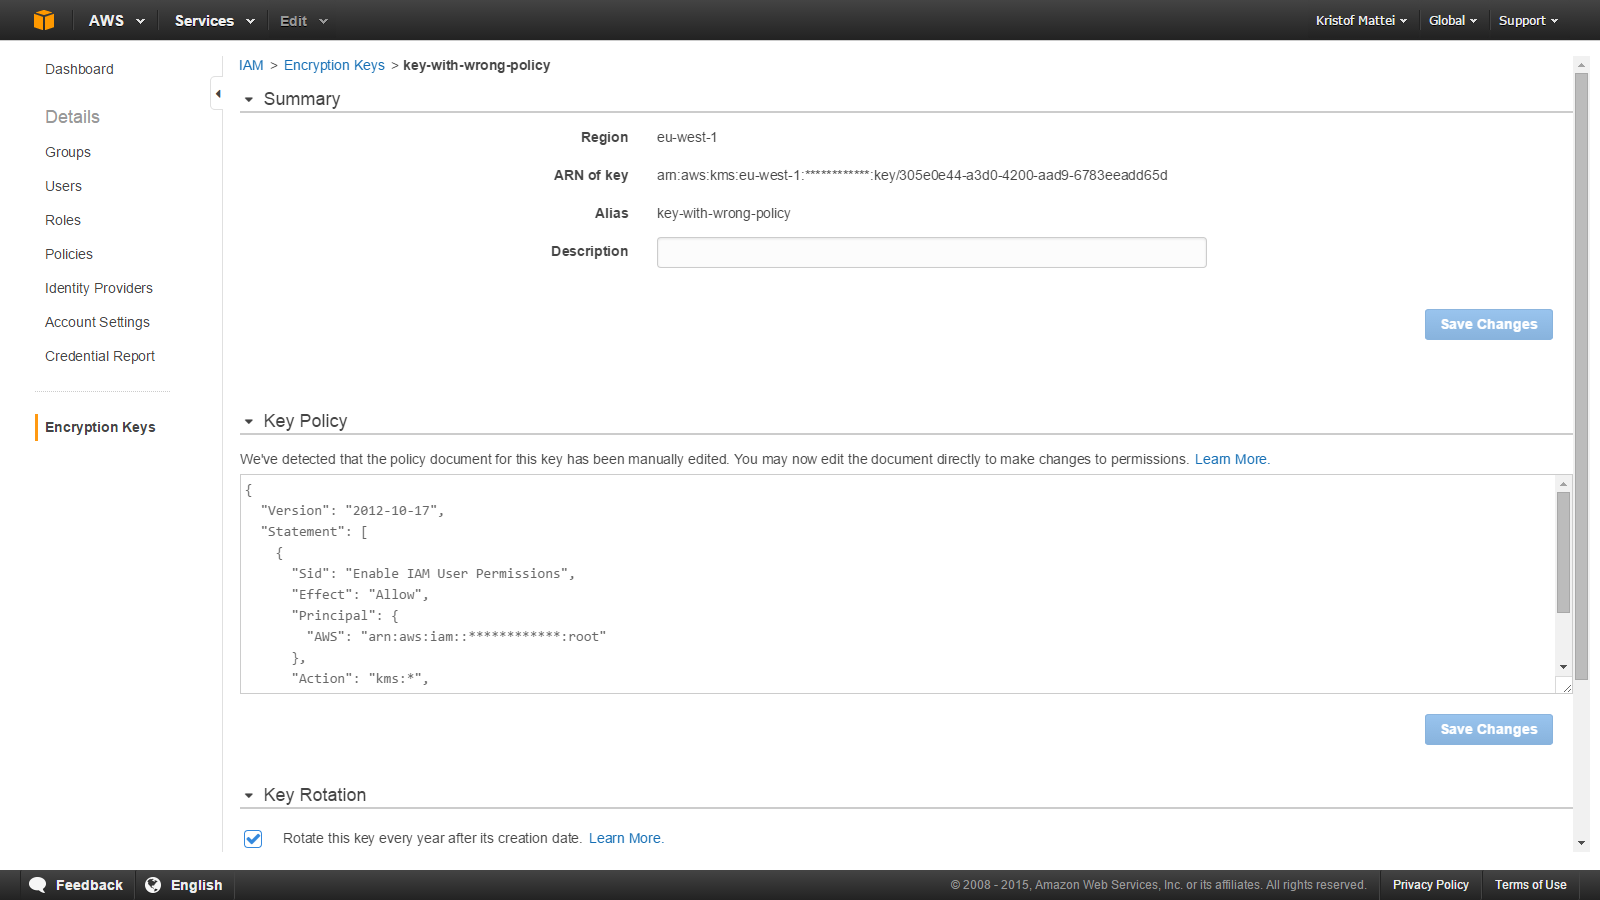
Notice the sentence:
We’ve detected that the policy document for this key has been manually edited. You may now edit the document directly to make changes to permissions.
This gives a lot of issues, for example, you cannot view grants anymore through the UI, nor can you easily add & remove Key Administrators. While the API allows you to modify the grants, that wasn’t enough for simple changes we’d like to make when testing / operating our products.
Because of the fact that you cannot delete nor reset keys in AWS, you have to find another way.
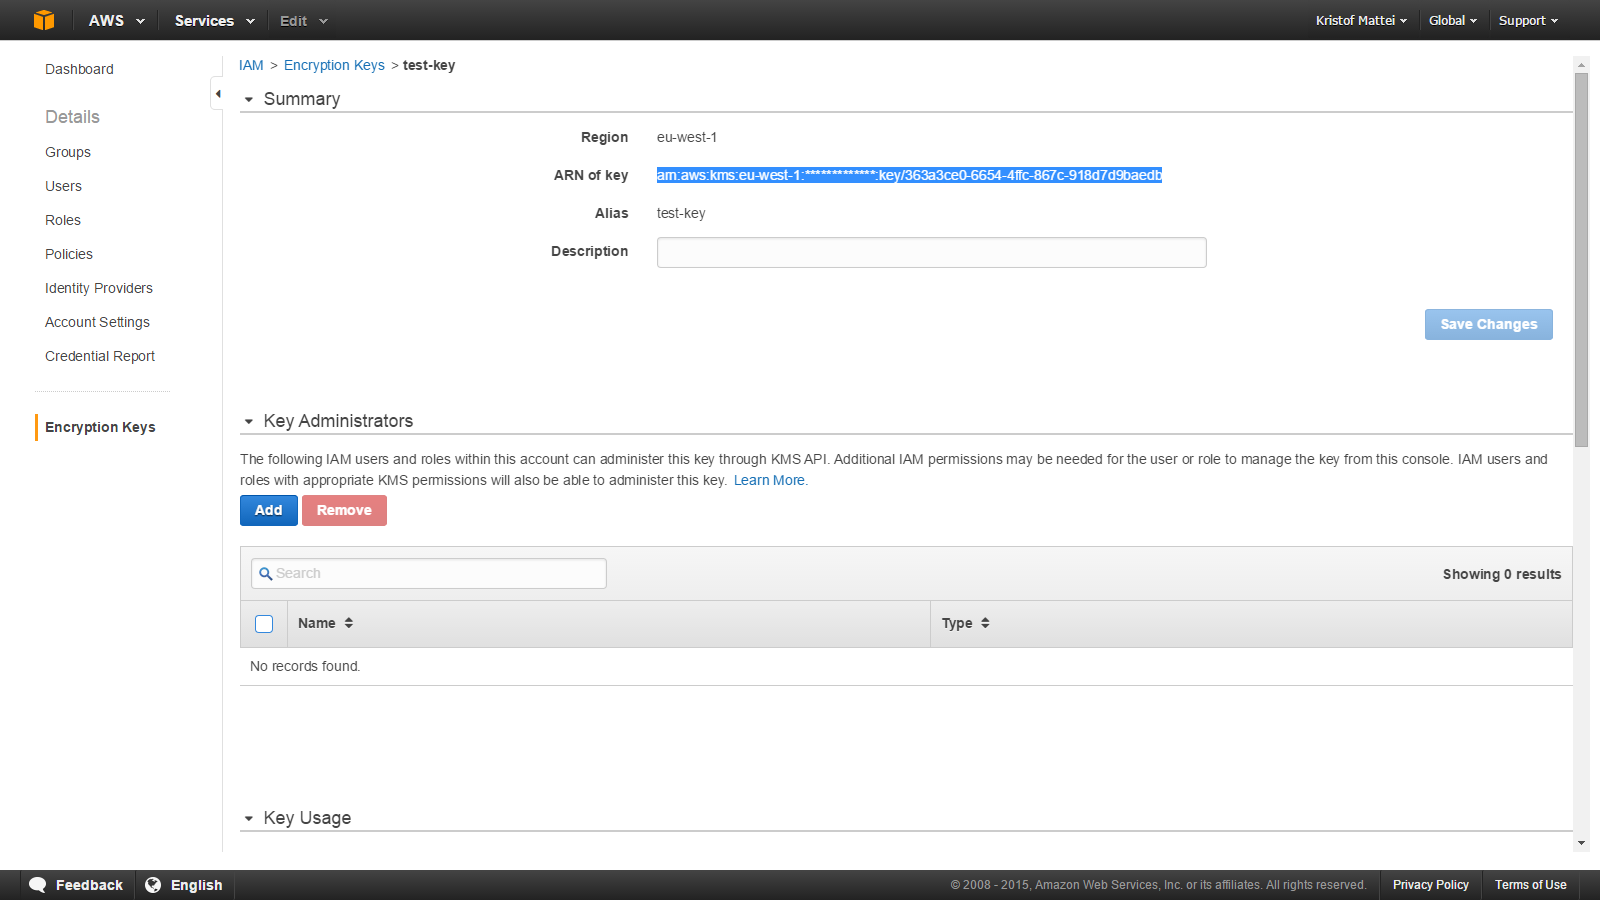
So I do have another key that shows me the UI I want, where I can modify Key Administrators and Key Usage.
So, what do we do then? We fetch the correct policy from a key that shows the correct UI and see whether we can apply it to our ‘broken’ key, and see if it works. (Spoiler, it does).
Should you not have a ‘working’ key (as described next), and don’t want to create a new one for the sake of doing this (you can’t delete a key, so I completely understand), click here to scroll down to the correct policy.
First, let’s get the ARN of a working key, just navigate to the Encryption Key section in the IAM Management console, set your region and select your key, and copy the ARN:
So, how do we get that correct policy? Let’s use Python with boto3.
First of all we make sure we have an account in
%userprofile%\.aws\credentials
If you don’t please follow the steps here.
Next up is ensuring we have boto3 installed. Fire up a cmd window and execute the following:
pip install boto3
When that’s done, we can open Python, and that key for its policy.
import boto3

kms = boto3.client("iam")

policy = kms.get_key_policy(KeyId="THE ARN YOU JUST GOT FROM A WORKING KEY", PolicyName="default")["Policy"]

print policy
2 things here:
-
Do paste in the correct ARN!
-
Why
defaultas policy name? That’s the only one they support.
That policy is a JSON string. It’s full of \n gibberish, so let’s trim that out (in the same window, we reuse that policy variable):
import json

json.dumps(json.loads(policy))
Which should give you this beautiful JSON document:
'{"Version": "2012-10-17", "Id": "key-consolepolicy-2", "Statement": [{"Action": "kms:*", "Principal": {"AWS": "arn:aws:iam::************:root"}, "Resource": "*", "Effect": "Allow", "Sid": "Enable IAM User Permissions"}, {"Action": ["kms:Describe*", "kms:Put*", "kms:Create*", "kms:Update*", "kms:Enable*", "kms:Revoke*", "kms:List*", "kms:Get*", "kms:Disable*", "kms:Delete*"], "Resource": "*", "Effect": "Allow", "Sid": "Allow access for Key Administrators"}, {"Action": ["kms:DescribeKey", "kms:GenerateDataKey*", "kms:Encrypt", "kms:ReEncrypt*", "kms:Decrypt"], "Resource": "*", "Effect": "Allow", "Sid": "Allow use of the key"}, {"Action": ["kms:ListGrants", "kms:CreateGrant", "kms:RevokeGrant"], "Resource": "*", "Effect": "Allow", "Condition": {"Bool": {"kms:GrantIsForAWSResource": true}}, "Sid": "Allow attachment of persistent resources"}]}'
(!) Notice the single quotes in the beginning and the end. You DON’T want those. Also notice that I’ve removed my Account Id (replaced by asterisks), so if you’re just copy pasting, make sure you replace them by your own Account Id, which you can find here (middle, Account Id, 12 digit number).
Now let’s go to our broken key again, and in the policy field we paste in our just-retrieved working policy.
Hit the save button, and lo and behold, we revert back to the original UI.
Succes!